Display Settings
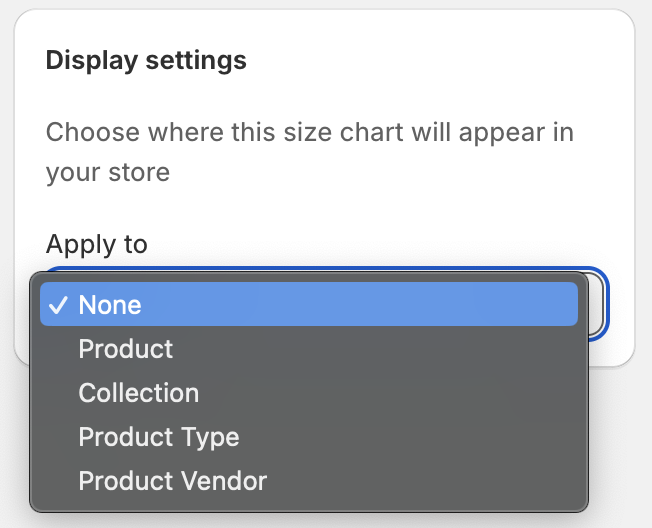
Display settings control where your size charts appear on your storefront. You can attach size charts to specific products, entire collections, vendors, or product types to ensure customers see the right sizing information at the right time.
How to Access Display Settings
After creating your size chart content, navigate to the Display Settings section to configure where your size chart will appear. You can choose from four targeting options to match your store's needs.
Products
Attach your size chart to specific individual products for precise control over where sizing information appears.
When to Use Product Targeting
- When you have unique sizing for specific items
- For products that require special sizing considerations
- When you want maximum control over size chart placement
- For testing size charts on select products before wider rollout
How to Set Up Product Targeting
- Select "Products" from the display settings dropdown
- Click the "Select products" button
- Search for and select the specific products you want to attach the size chart to
- Selected products will appear in the display settings section
- Save your changes

Best Practices
- Use descriptive product search terms to quickly find items
- Review your selected products list to ensure accuracy
- Consider grouping similar products that share the same sizing
- Test the size chart on a few products before adding to many
Collections
Apply your size chart to entire product collections for efficient management across related items.
When to Use Collection Targeting
- When all products in a collection share the same sizing
- For seasonal collections with consistent sizing standards
- To efficiently manage size charts across many related products
- When you want automatic application to new products added to the collection
How to Set Up Collection Targeting
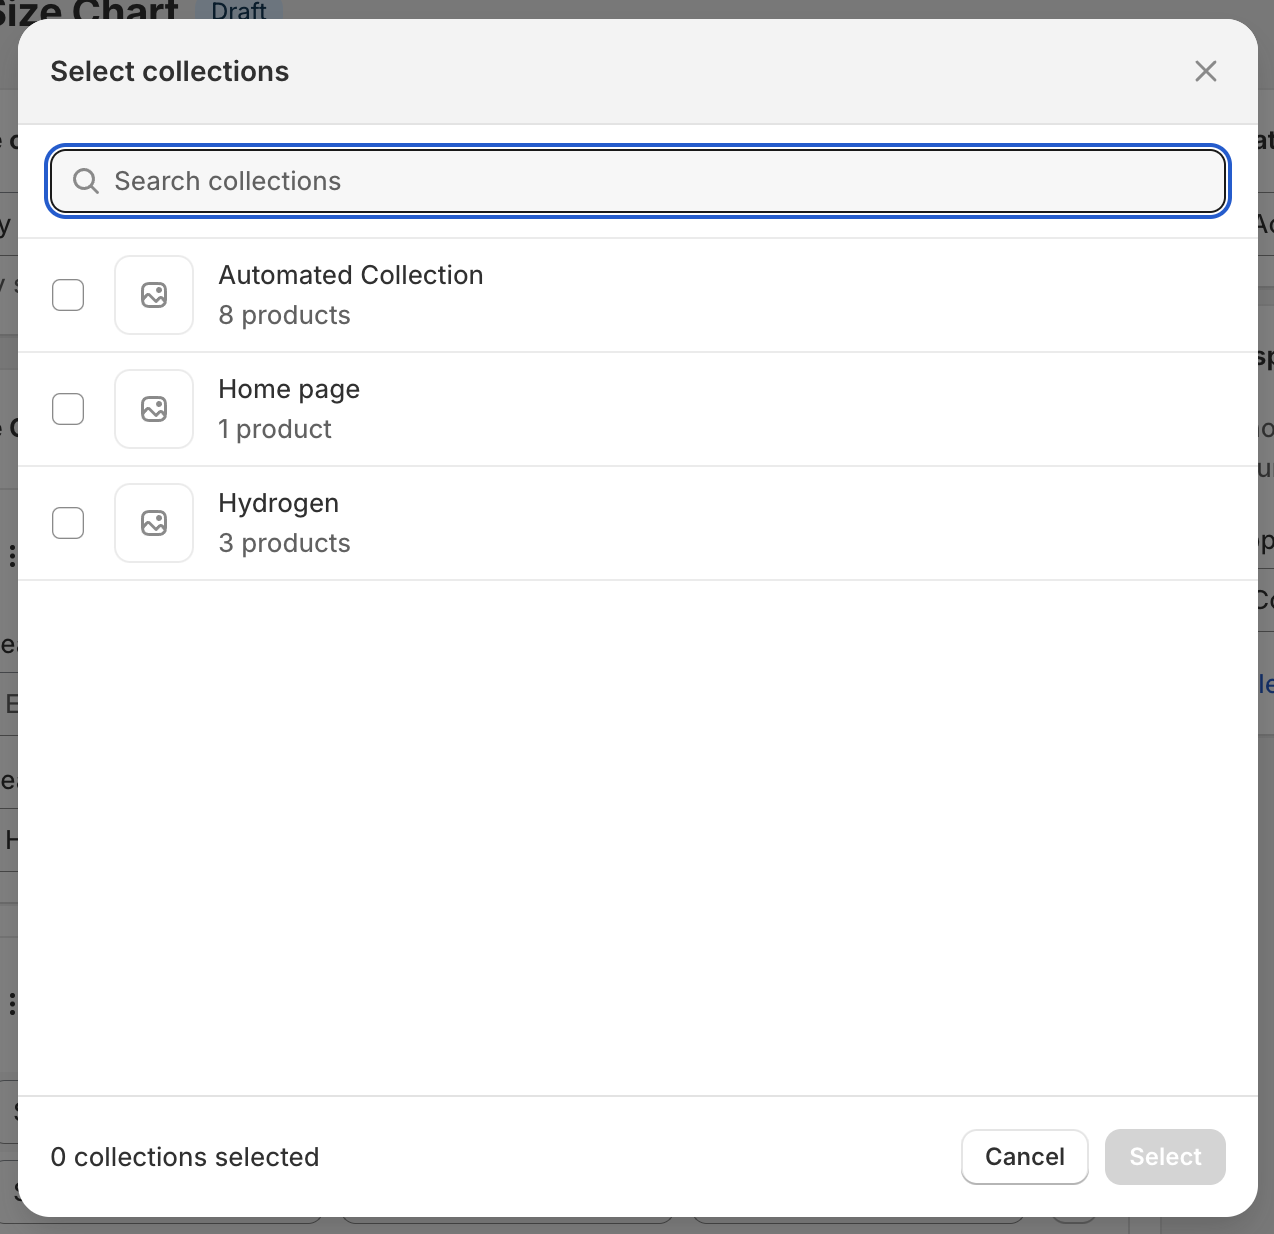
- Select "Collections" from the display settings dropdown
- Click the "Select collections" button
- Choose the collections where you want the size chart to appear
- All current and future products in these collections will display the size chart
- Save your changes
Best Practices
- Ensure all products in the collection truly share the same sizing
- Use collection targeting for consistent product categories (e.g., "Women's Tops", "Men's Shoes")
- Remember that new products added to the collection will automatically inherit the size chart
- Review collections periodically to ensure sizing consistency
Vendors
Show your size chart on all products from specific brands or suppliers for brand-consistent sizing information.
When to Use Vendor Targeting
- When specific brands have standardized sizing across all their products
- For wholesale products that share vendor sizing standards
- To maintain consistent sizing information for brand partnerships
- When managing multiple brands with different sizing conventions
How to Set Up Vendor Targeting
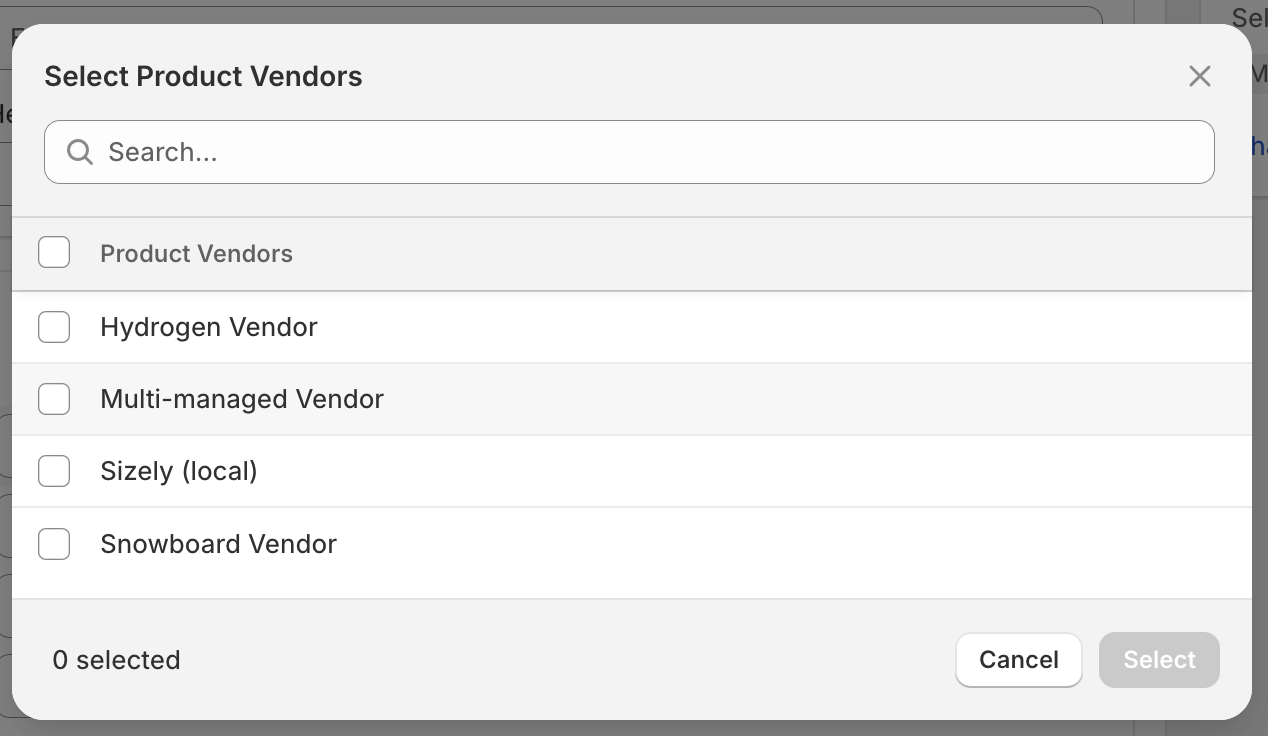
- Select "Vendors" from the display settings dropdown
- Click the "Select vendors" button
- Choose the vendors/brands whose products should display this size chart
- All products from the selected vendors will show the size chart
- Save your changes
Best Practices
- Verify that the vendor's sizing is truly consistent across all their products
- Use vendor targeting for established brands with standardized sizing
- Consider creating separate size charts for vendors with very different sizing standards
- Monitor new products from vendors to ensure sizing accuracy
Product Types
Display your size chart on products with specific tags or product types for category-based sizing.
When to Use Product Type Targeting
- When you have consistent sizing across product categories (e.g., all "Dresses", all "Shoes")
- For products that share similar fitting characteristics
- To organize sizing by garment type rather than brand
- When your product types have standardized industry sizing
How to Set Up Product Type Targeting
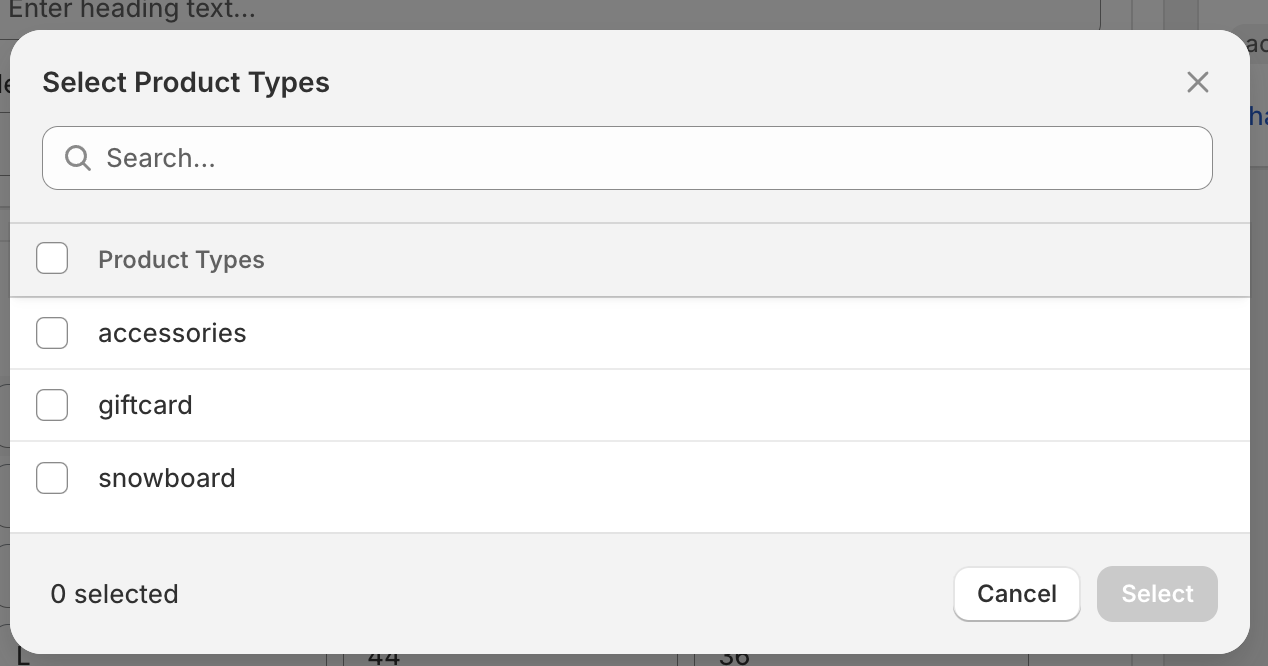
- Select "Product Types" from the display settings dropdown
- Click the "Select types" button
- Choose the product types that should display this size chart
- All products tagged with the selected types will show the size chart
- Save your changes
Best Practices
- Ensure your product types are consistently tagged in your store
- Use type targeting for products that genuinely share sizing characteristics
- Consider the diversity within a product type (e.g., "Tops" might include very different fits)
- Regularly audit your product type tags for accuracy